Archive for August, 2009

The New Walkabout

August 30, 20090 Comments

I love my full frame DSLR and the various lenses, but having the monster by my side constantly just isn’t practical so for the last 6 months or so, I’ve been looking for a compact camera.  I wanted something I could throw in my pocket, or bag and always have with me, but I didn’t want to sacrifice quality.  I narrowed my search down to two, the Canon G9/10 and the Panasonic LX3.  Both seem to have rabid followers and from the reviews I’ve read, both are wonderful compact cameras that produce superb images.  After much contemplation, I settled on the Panasonic. 

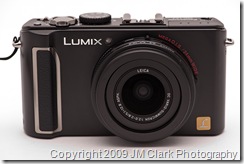
Panasonic LX3Why the Panasonic?  Well, I really like the aesthetics.  It reminds me of the old Rangefinder style cameras.  It has a F2.0 Leica lens, great for low light.  Settings are fairly simple to change, white balance, ISO, f-stop, metering, etc. by using a little joystick on the back of the camera, it will even bracket exposures, something I came across accidently.  Of course, if you want to go fully automatic, it has a ton of preset scene settings and all the bells and whistles of the most recent compacts.

What could be improved?  I would like to see a built in viewfinder instead of having to look at the LCD to compose.  There is an option to add a viewfinder that slips into the flash shoe, but sometimes I want to use that to trip a flash.   A longer focal length lens, though this isn’t a big deal to me, I tend to like the wide angle lenses.  It would just be nice to have the option.  Other than that, I’m very happy with my purchase so far.  I’ll be making a trip up to Canada in a couple of weeks so it will get a good workout.

I’ve posted a couple of quick handheld photos below:

Lunch – outside, mixture of shade and sun.

lunch - Baja Tacos

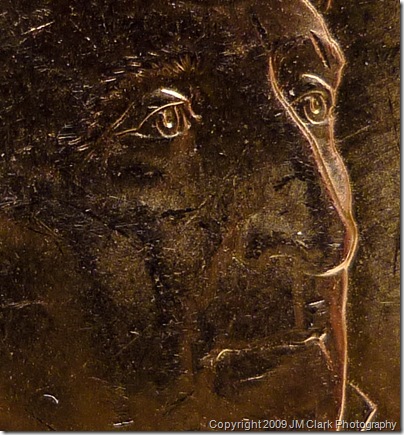
Macr0 – New presidential dollar.  It’s amazing how many gouges and scratches you can see.  Studio flash triggered by the LX3.

Presidential Dollar Macro

Until next time. – Jim

My new photo website is up with portfolios

August 18, 20090 Comments

My new site is FINALLY up displaying my portfolios.  Check it out.

http://jmclarkphoto.com

It’s not quite where I want it to be, but it’s a good start.

Until next time – Jim

Using Levels to Increase Contrast and Interest

August 10, 20090 Comments

I’ve been playing around with the levels feature of Photoshop lately after some recent interest in extending my knowledge of the curves and levels dialogs.  I’ve found it fairly quick and easy to add contrast and interest to an otherwise flat, blah photo. 

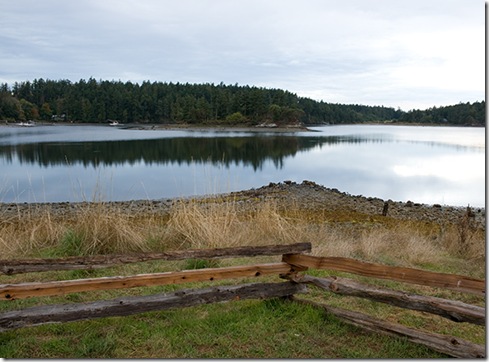
Here is a photo I took up in the San Juan Islands in Washington State.  As you can see, it has a very uninteresting sky and is generally flat and could use a contrast boost.  This is straight out of the camera. 

I’m going to attempt to add more interest in the sky and more contrast overall.
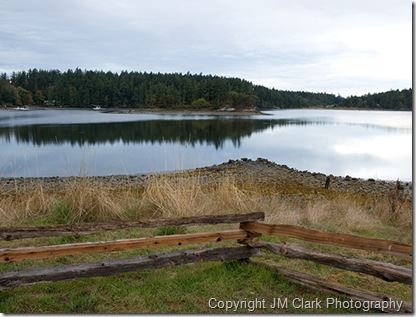
Before

With your favorite selection tool select the sky.  I’m using the Quick Selection Tool.
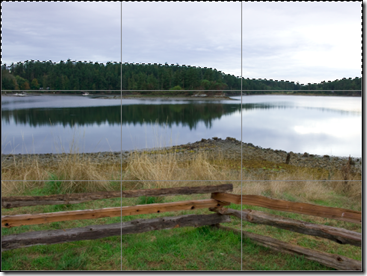
image

Once you have a good selection of the sky, open the Levels dialog by either using the keyboard Ctrl+L or selecting the black and white cookie at the bottom of the layers panel.
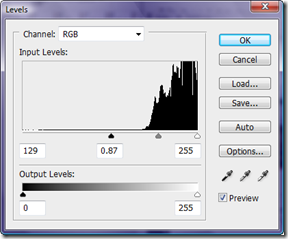
image

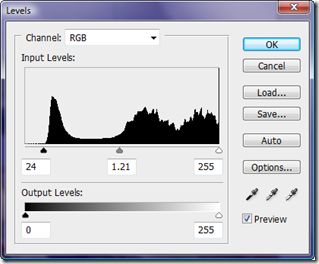
For this photo, most of the pixels in the selection are on the far right.  To darken the sky I moved the black black slider to the right until the sky had the look I was going for, I then adjust the grey mid-tone slider also to the right to darken the mid-tones.
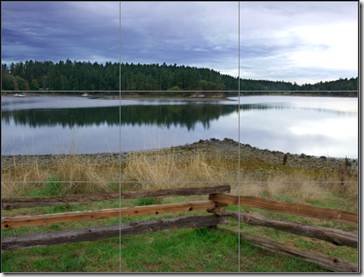
image

Now, so we don’t have a definite line across the top of the tree line, we are going to add a Gaussian blur to the mask.

With the mask in the layer selected, click Filter, Blur, Gaussian Blur.  I use a value around 25px.

Make your next selection, I did the lake next and made the same level adjustments.  I moved the black slider to the edge of the black pixels and then adjusted the mid-tones.
image

Next apply the Gaussian Blur to your mask.

Continue with each section of the photo.  I did a shore selection and finally the tree line.

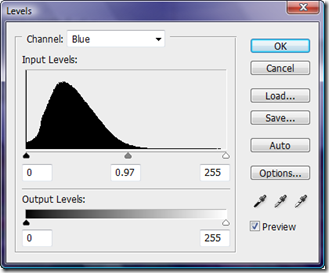
Next I warmed up the sky and shore, by adding some yellow using the Levels dialog.

To add yellow to your selection, select the Blue channel.  To adjust the color you move the mid-tone slider left to add blue and to the right to add yellow, since yellow is the opposite of blue.  You can use the same method to adjust the Red and Green channels.
image

Before:

 Before

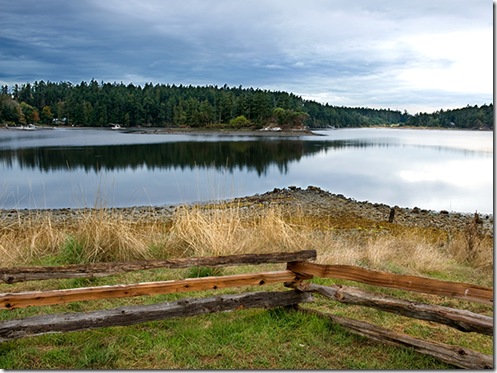
After:

after

We turned this uninteresting, flat photo into something a little more interesting.  It’s not perfect, but it gives you an idea of what you can do with the Levels dialog.  Of course, this is just one of many ways to accomplish similar results in Photoshop.  It’s another tool you can add to your repertoire.

Until next time – Jim

Back to Top